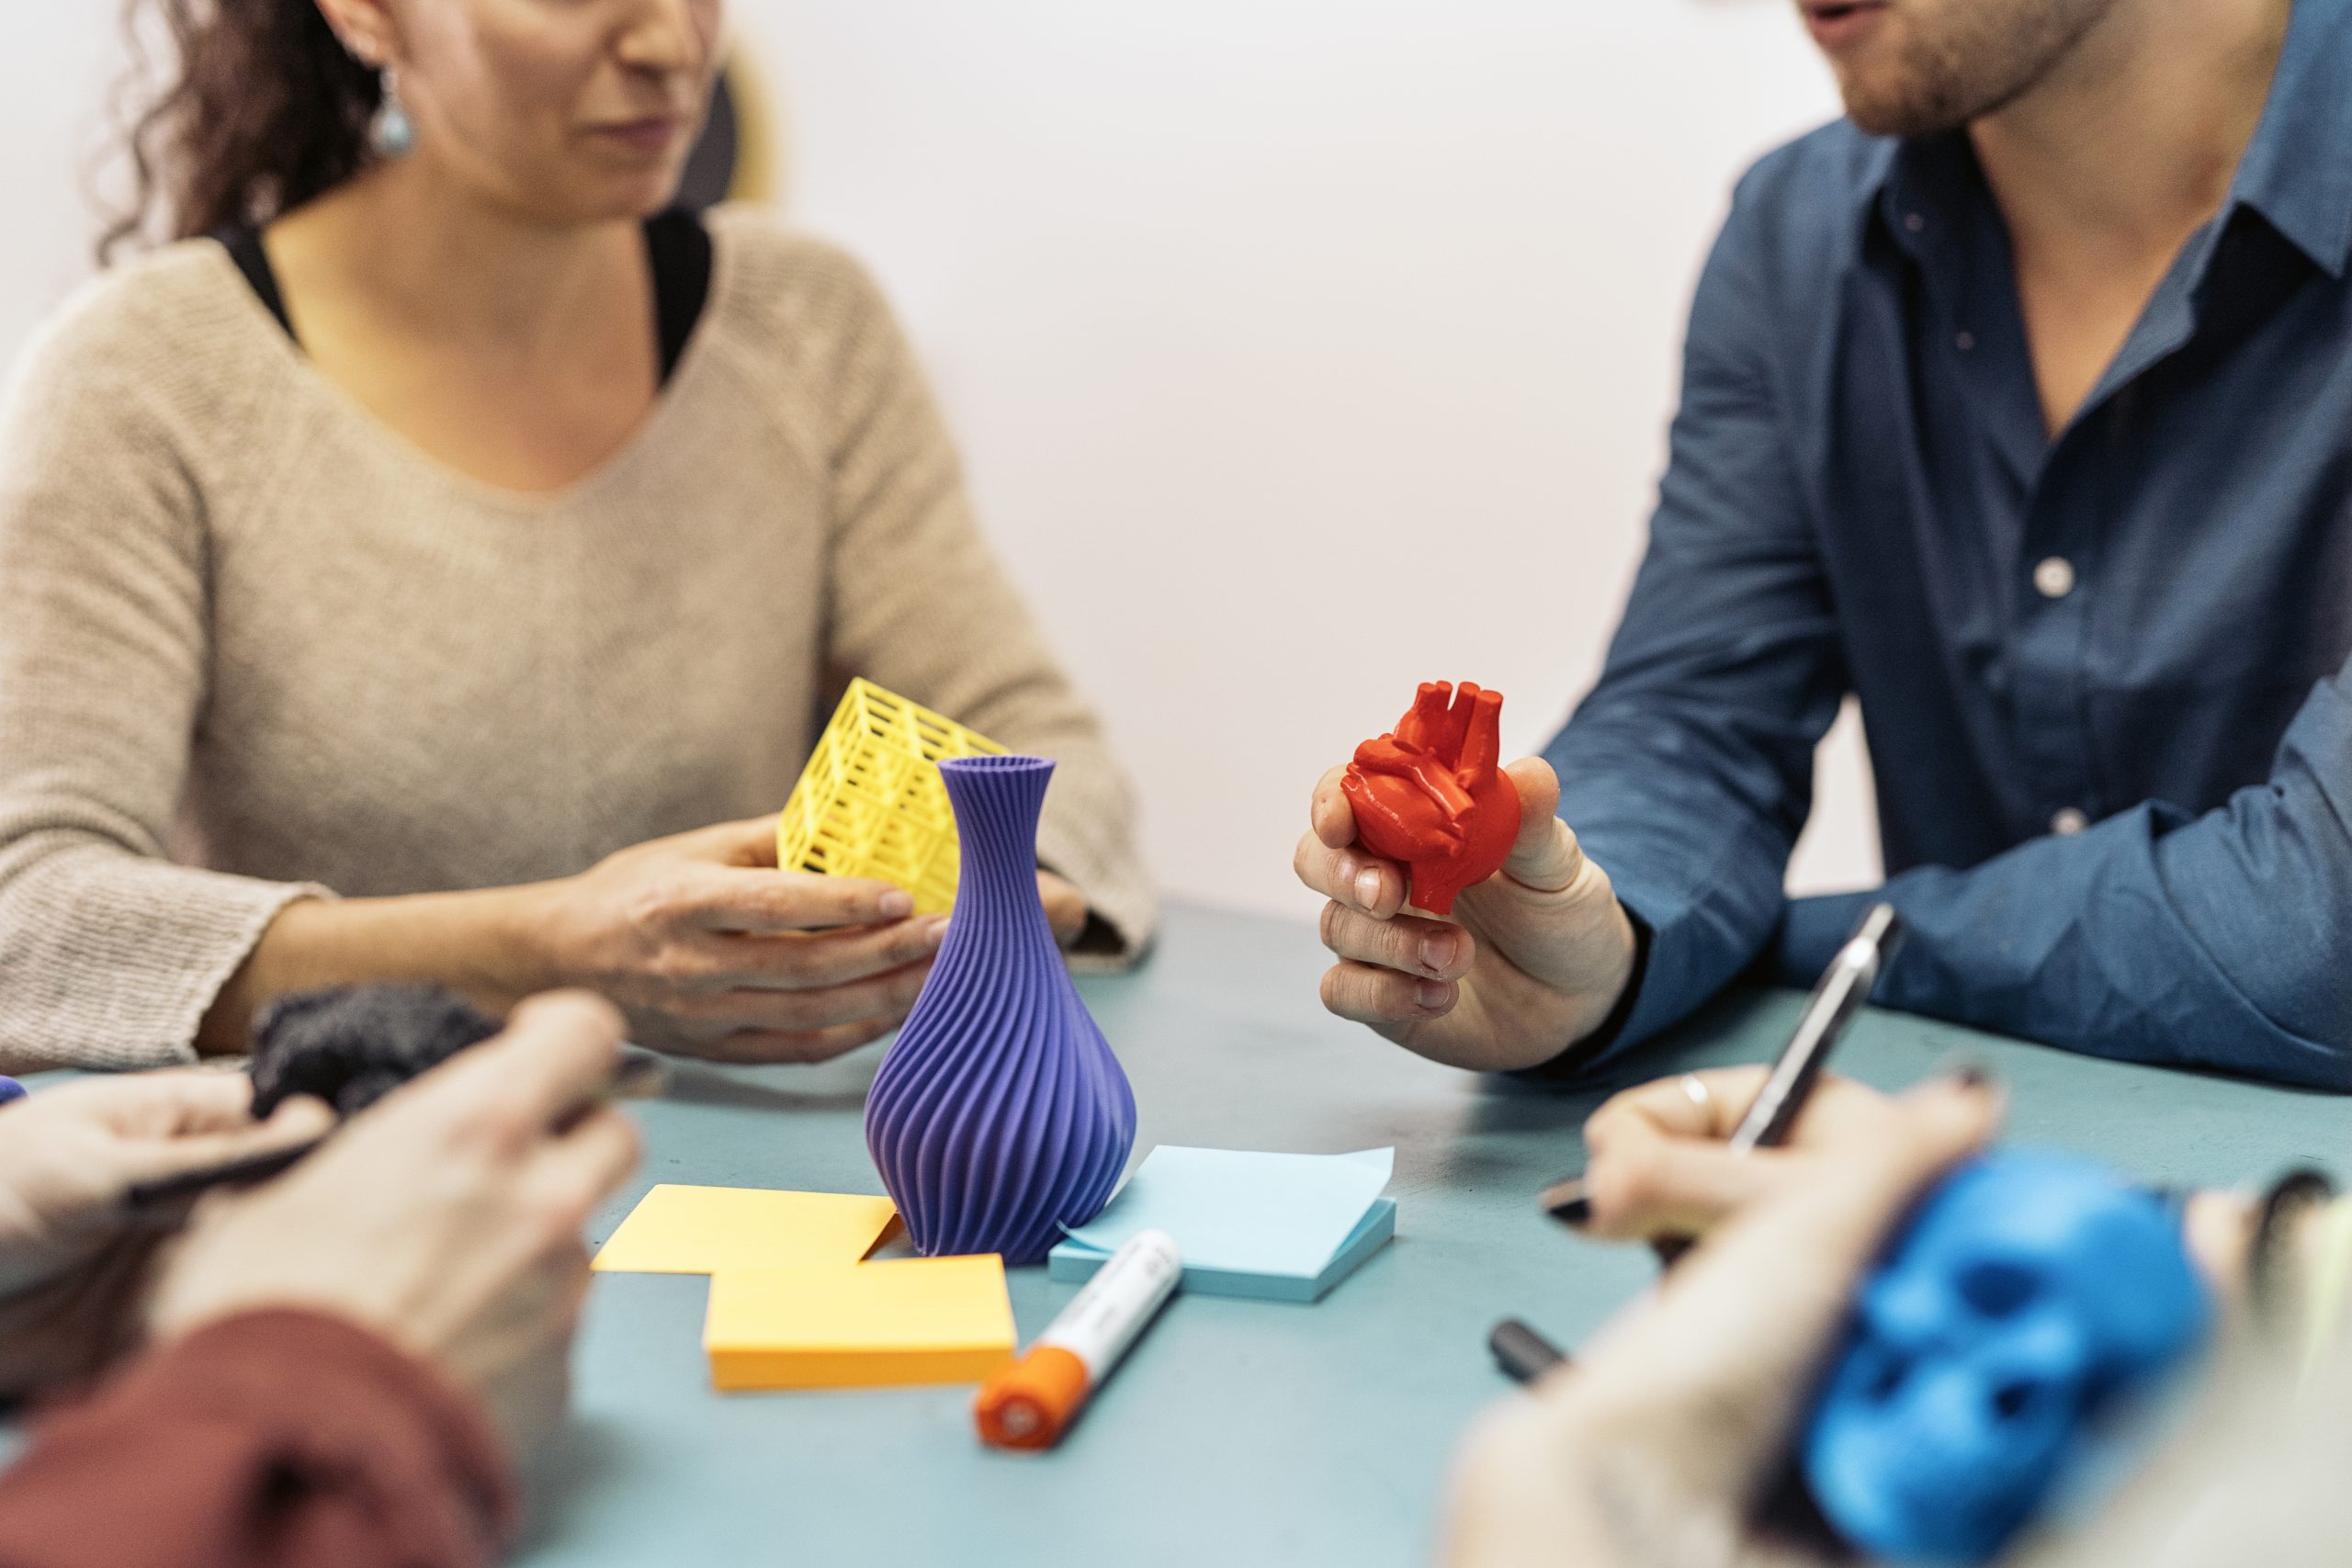
1. Client Inquiry & Initial Consultation Receive Inquiry: Collect project details, including prototype type, purpose, and specifications. Respond to Inquiry: Provide information on the 3D printing process and schedule a consultation. Consult with Client: Discuss goals, target audience, usage requirements, and material preferences. 2. Define Project Scope & Requirements Establish Design Requirements: Define functional needs, dimensions, materials, colors, and durability. Identify Project Constraints: Clarify limitations on size, cost, and complexity based on client needs. Provide Quote & Timeline: Present a proposal with estimated costs, timeline, and terms for approval. 3. Concept Design & Initial Modeling Sketch Initial Concepts: If required, create rough sketches or digital illustrations to establish the basic design. Develop 3D Model: Using CAD software, create a digital 3D model of the object based on client specifications. Client Review & Feedback: Present the 3D model for client review, gather feedback, and make any necessary adjustments. 4. Preparation for 3D Printing Finalize 3D Model: Make final adjustments to meet functional and aesthetic requirements. Select Material & Print Settings: Choose materials and configure printing parameters (e.g., layer height, speed). Run Slicing Software: Convert the 3D model into G-code using slicing software for efficient printing. 5. 3D Printing & Quality Control Begin Printing: Start the print process, monitoring for quality and addressing issues. Inspect for Errors: Check the prototype for defects like layer separation or dimensional inaccuracies. Perform Post-Processing: Carry out post-processing tasks such as sanding, painting, or assembly. 6. Testing & Iteration Conduct Functional Testing: Test the prototype for usability, durability, or fit if it’s intended for assembly. Gather Client Feedback: Share the prototype with the client for input and improvement suggestions. Revise Model as Needed: Adjust the model or settings based on feedback and reprint if necessary. 7. Final Approval & Finishing Touches Finalize the Prototype: Once the client is satisfied, make any final refinements to the prototype for aesthetics or functionality. Apply Additional Finishes: If required, add finishes like paint, decals, or a clear coat for protection and visual appeal. 8. Delivery of Final Prototype Prepare Prototype for Delivery: Package the prototype securely, especially if it has delicate or intricate parts. Send Final Prototype to Client: Deliver the prototype via the agreed-upon method (in-person pickup, shipping, or delivery). Follow-Up with Client: Confirm receipt and satisfaction with the final prototype, addressing any additional questions. 9. Archive & Maintain Relationship Save Project Files: Archive the 3D model and print settings for potential future use or adjustments. Follow-Up for Feedback: Contact the client to gather feedback on the prototype’s performance in real-world testing and maintain an ongoing relationship for future projects.